The beauty of Shipa is that no matter how the surrounding ecosystem changes e.g your Continuous Delivery or Infrastructure-as-Code stacks, the Shipa API stays the same. If you are curious about interacting with this mystical API, there are a lot of surrounding integrations that do that for you. Though, if you want to directly interact with the API, you can send out HTTP requests to the Shipa API itself to create any sort of integration you require. In this example, we will send a request to the Shipa API to get some details about Shipa Plans.
Getting Started
There are just a couple of pieces that you need to start sending requests to the Shipa API. The first piece is a Shipa Cloud or Shipa Self-Managed account/installation. Once signed up for Shipa, head over to Postman and sign up for their cloud or desktop version. For your Shipa API Key, you do need to grab the Shipa CLI.
Installing the Shipa CLI
Installing the Shipa CLI is straightforward. From the documentation assuming you are running Shipa Cloud, can run a shell script to install the Shipa CLI which will have the Shipa Cloud endpoint wired in for you.
curl -s https://storage.googleapis.com/shipa-client/install-cloud-cli.sh | bash
shipa version

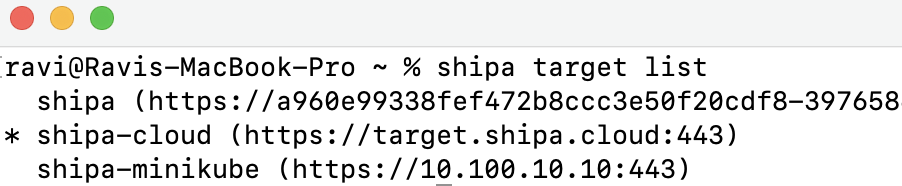
Next, you can validate that the Shipa Cloud target is wired in for you. If you have a Self-Managed version of Shipa, you can also add your cluster as a target for the Shipa CLI.
shipa target list
Lastly, you can log in to your Shipa Cloud account from the Shipa CLI.
shipa login

Once logged in, you can get your Shipa API Key.
Getting Your Shipa API Key
Through the Shipa API, you can grab your Shipa API Key to use for the HTTP-based authentication.
shipa token show

Now you are ready to start interacting with the Shipa API.
Your First Postman Shipa API Request
Once installed or signed up, head over to Postman. Start a new Collection e.g “Shipa API Calls” with Postman. In the Auth section, select type “Bearer Token” and then add the token you retrieved from the Shipa CLI e.g shipa show token.

With the token entered, click on the ellipses on the right of the collection name and save.

Now it is time to add a request. Can click on the Collection Name in your Workspace and Add request.

In the new request, can name such as “Get Plan Details”.
The Shipa API Endpoint is the Shipa Target you set in the CLI. If you need those details again can run “shipa target list” or head to the Shipa Dashboard under Settings -> General then Target Address.

Per the API Reference, getting Plans, you send a request to “/plans”. With Postman, will create the header information for you if set at the Collection level.
Get: https://target.shipa.cloud:443/plans

Click Send and you should have received Plan information.

Congratulations, you have just interacted with the Shipa API directly! There is certainly a lot of the art of the possible. Feel free to sign up for Shipa today and interact with the APIs directly.
Cheers,
-Ravi