Remix, as stated in their website, is a JavaScript full stack web framework that lets you focus on the user interface and web standards to deliver a fast, slick, and resilient user experience.
As the framework is getting a lot of attention from the community (over 18k stars on Github), I decided to try it out myself for fun, and deploy the end result to Kubernetes using Shipa to demonstrate how easy it would be for those migrating to Remix to deploy their apps to an actual Kubernetes cluster without hassle.
For those who don’t know what Shipa is or does, it is a tool that simplifies the way you deploy, secure, and manage applications across cloud-native infrastructures. In the same way that Remix abstracts a lot of complex concepts from modern web development (routing, compliting, hydration, cache, server side rendering, etc.), Shipa abstracts all the hard concepts from the Kubernetes world, so you can focus your time and energy into building your actual application rather than learning Kubernetes.
The basics
Instead of learning about all the objects you need to define to get your app up and running in a K8 cluster (deployments, services, ingress, secrets, helm charts, etc.), the only thing you really need from your app is a Docker image. With that on hand, Shipa will take care of the rest. It will generate all the underlying definitions required to deploy your app, and it will even create a public URL endpoint you can visit to access your running/test application.
Is that magic? How can I do that?
For the sake of this example, I followed one of Remix’s starting tutorials https://remix.run/docs/en/v1/tutorials/jokes and created a Docker image for it. The final code is actually available in their official repo, even with the right Dockerfile, so all the credit really goes to the Remix team 🙂 -> (https://github.com/remix-run/remix/tree/main/examples/jokes). With that in my hands, the rest is a piece of cake.
Requirements:
- Install `docker` on your computer (https://www.docker.com/get-started/) and create a free account at https://hub.docker.com/
- Follow the Remix tutorial and create your own app (the framework it’s really impressive and easy to use, so have some fun there if you have more time!)
- Copy the Dockerfile available at https://github.com/remix-run/remix/blob/main/examples/jokes/Dockerfile to generate your container image
- The only change I did for the sake of this example is to actually generate a new empty DB on every build of the image. This is not something you should do when using an actual production DB, but I intentionally did it just to load the file as part of the container for testing purposes.

NOTE: I forced an ENV variable with the DATABASE_URL where I intent to store the DB and ran the prisma commands to generate a new empty database from the schemas the code has.
- Sign up in Shipa Cloud https://apps.shipa.cloud/ (it is free)
- Create a Kubernetes cluster in the provider of your preference (GKE, EKS, AKS, etc.)
- You could even use minikube or k3s, but you will need to expose your local cluster to the internet to be able to connect them to Shipa (out of the scope of this quick test)
Now it is your turn:
- With the codebase on your machine, Go to the Terminal and `cd` into the folder with the project. In my case `cd ~/remix-blog`
- Build the Docker image locally by running
`docker build . -t NAME:TAG`. In my case, `docker build . -t dechegaray/remix-blog`- The
`.`provides the context to the command from where to look the Dockerfile. If a different path is needed, just adjust that relative path there`docker build ./deploy/Dockerfile -t NAME:TAG` - The
`-t`command just gives a tag name to your image, so you can locate it easier.
- The

NOTE: The build process is really fast compared to other frameworks I have used in the past, so Kudos to the Remix team for having a keen eye there.
- Push the built image to your docker hub by running
`docker push REPO/IMAGE_NAME:TAG`, making it publicly available. In my case`docker push dechegaray/remix-blog`

- Go to your Shipa account using our dashboard https://apps.shipa.cloud/ (or our CLI if you prefer)
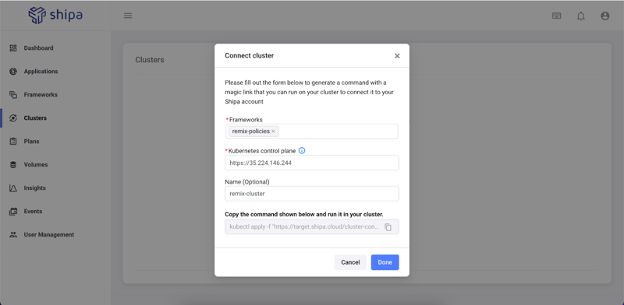
- Connect your cluster to Shipa https://learn.shipa.io/docs/connecting-clusters
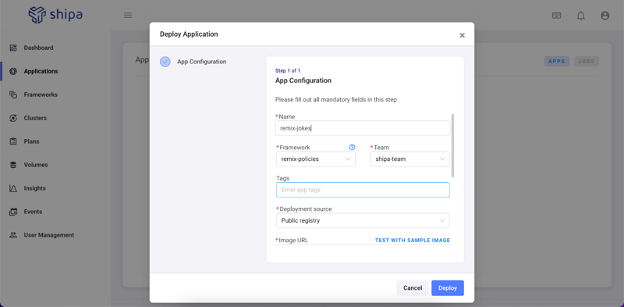
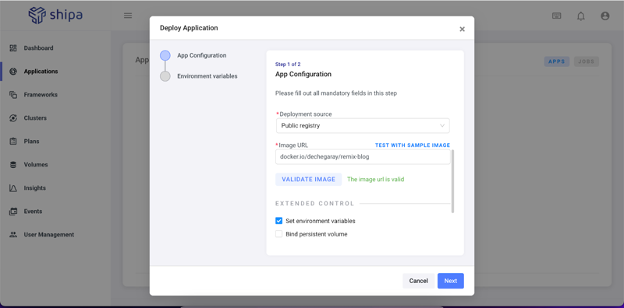
- Create an app on Shipa and provide your container image’s URL. In my case,
`docker.io/dechegaray/remix-blog`(you can use container images from any registry, I am using Docker as an example in this case)
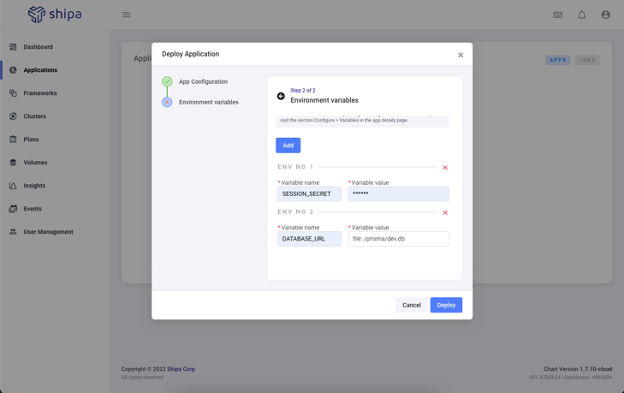
- Set the required environment variables for this application (if any). If you were using a real database running on an external service (i.e. Mongo Atlas , AWS, Google Cloud, etc), you could just pass the auth information as environment variables here.
NOTE: This application uses a SQLite database to persist jokes and users created by the application. In an actual production setup, this DB should be stored in a separate volume or service; however, just for the sake of the demonstration, I decided to load the DB file into the container running the app, which means that every time the pod of the app is created, the DB will appear as it is initially loaded into the container “empty”.
- Click “deploy” and wait for Shipa to complete the process.
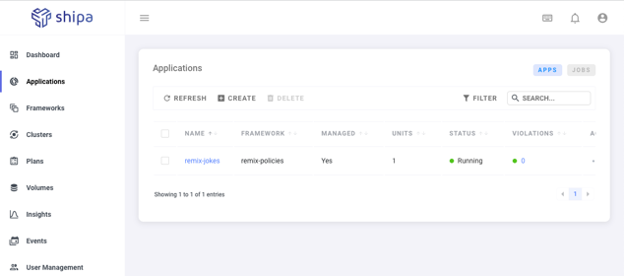
- That’s it! Your app should appear there running, and if you click on it, you should see all the information that Shipa prepared for you. Easy, right?
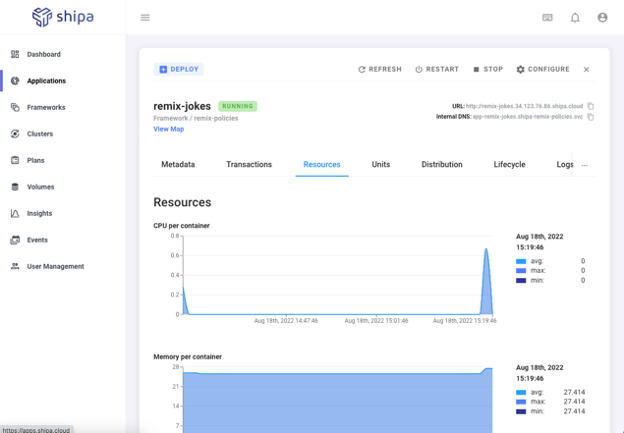
- Your app is already deployed to your cluster, and you should have enough information to monitor/debug it from Shipa (without the need to use `kubectl`). Visit the app’s details and have fun seeing all the details Shipa provides. Some of those details are listed below:
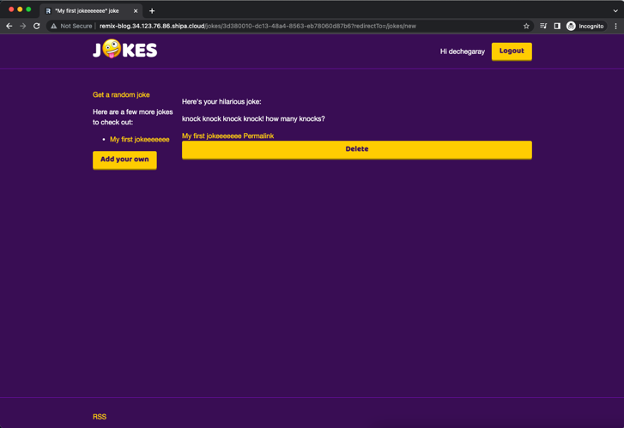
- Instantly accessible URL endpoint (click on it to actually see your app running)

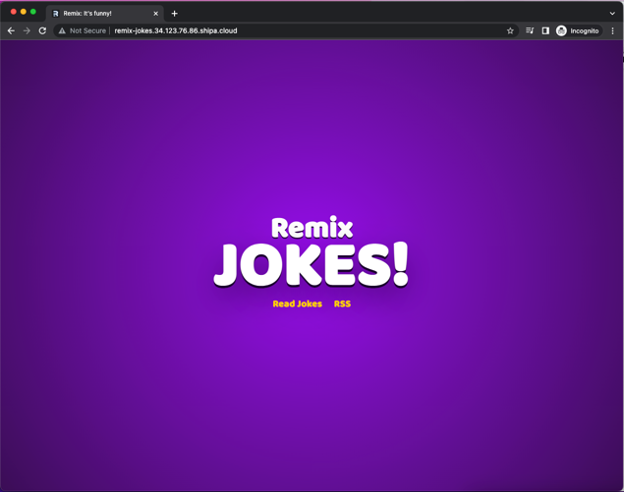
Hack: As you can see, Shipa generates by default a URL served through `http` not `https`, so because of it, the original code that creates your cookie session on Remix won’t work, as it is requesting only `secure` sites on production. To bypass that behavior, you can do 2 things:
1) Add a CNAME on shipa using `https` if you have one available, OR
2) For testing purposes, disable the secure cookies when creating your session:
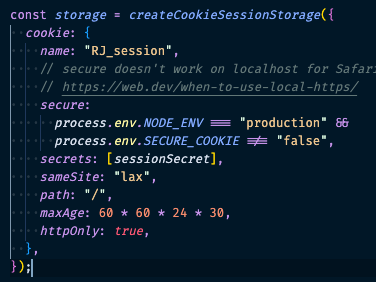
I did it by adding an extra condition that forces the `secure` property to be `false` if intended. Then, I added the environment variable to my app on Shipa to make the condition truthy, and that’s it. My app is now fully ready to accept sessions.
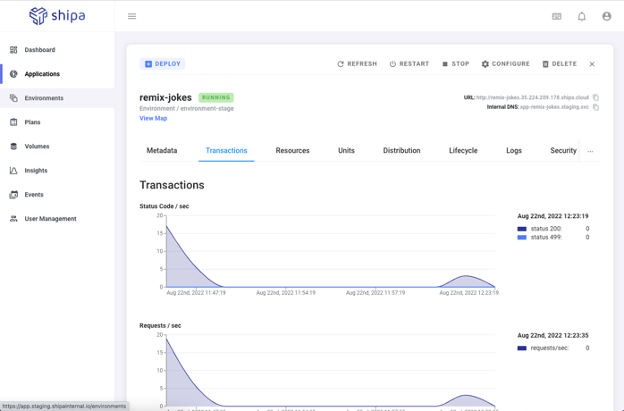
- Resource and Transaction metrics!!
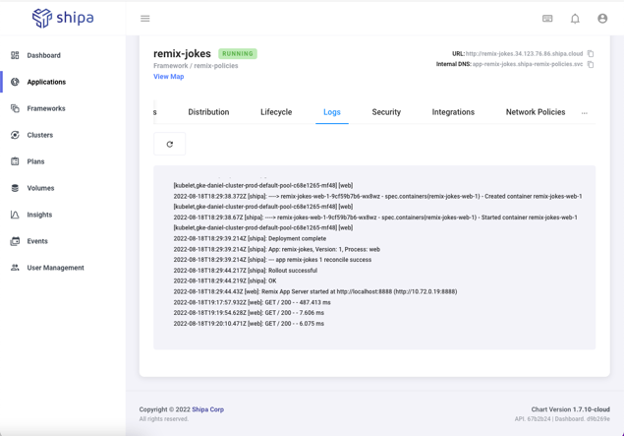
- Logs directly from Kubernetes (say what???). Start using your app and see how logs start appearing there.
- Even a timeline with the history of your app (if you redeploy your image with new changes, you will see them there as well).
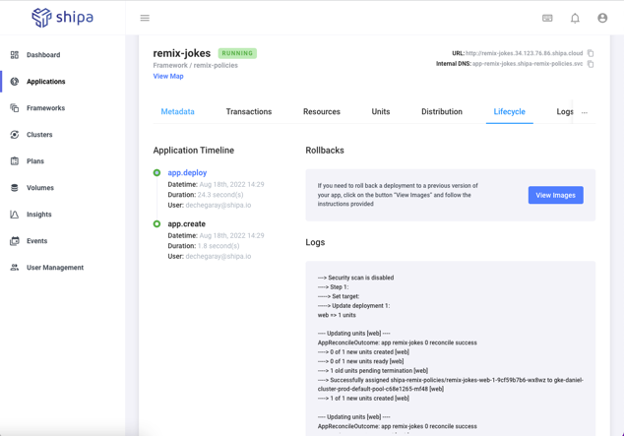
There is a LOT more to see there, so feel free to explore your app and see all the info Shipa has captured for you.
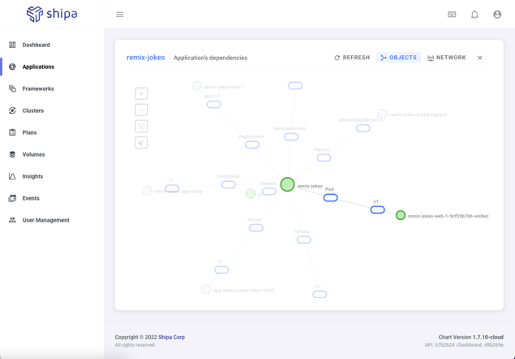
Simple, right? Your first Remix application actually deployed to a Kubernetes cluster without any hassle. And you didn’t have to learn anything about Kubernetes (maybe just figuring out how to create a cluster, but other than that, everything seems pretty simple)
You might wonder, “Yep, this is cool, but how do I integrate this into my development flow?”. Well, it is really up to you and your development processes, but we have done a lot of work to support the most common CIs out there, so you could create a Github action that builds your Docker image (as you are probably already doing), and then use Shipa’s Github Action provider (https://learn.shipa.io/docs/github-action) or Shipa’s CLI (https://learn.shipa.io/docs/downloading-the-shipa-client) to deploy it to your cluster.
Just so you can picture it better, imagine having your Docker image ready in your registry of preference and just doing:
// Install shipa CLI
curl -s https://storage.googleapis.com/shipa-client/install.sh
// Adding shipa API
shipa target add shipa-cloud https://target.shipa.cloud -s
// Signing into your account
shipa login ${{ secrets.SHIPA_USERNAME }} ${{ secrets.SHIPA_PASSWORD }}
//Deploying your app
shipa app deploy -a ${{APP_NAME}} -i ${{APP_IMAGE}} -k framework
And that’s it. Every new version of your image will be deployed to a specified cluster (`staging` or `prod`), so you can already imagine the endless possibilities there.
Check our blog for more examples of running Shipa from a CI https://shipa.io/blog/
Conclusion
If you have the time and haven’t done it yet, take a look at Remix, it is definitely an interesting JavaScript framework that’s worth checking out, as I believe it is there to improve our lives as developers and create pretty interesting users experiences. AND you already know how to deploy it to Kubernetes 🙂
Similarly, if you are struggling with Kubernetes, or want to have a solid developer platform that simplifies a lot of hard concepts and scales properly, take a look at Shipa. We are confident that once you try it out, you will be able to focus more on actually building your application rather than adapting to all the numerous changes of the cloud industry.
If you have any further questions, feel free to reach out on our Shipa Community Slack.
Cheers,
Daniel


