Flux is a CNCF based open source stack of tools. Flux focuses on making it possible to keep Kubernetes clusters and cloud-native applications in sync with external resources and definitions hosted in environments such as GitHub.
Implementing tools like FluxCD should enable you to achieve results such as:
- Code changes are atomic and transactional
- Have Git as your source of truth
- Use a code-centric approach as part of your DevOps lifecycle
The results above can bring obvious benefits, and many teams are adopting FluxCD as their tool of choice for GitOps. Despite the above, it’s pretty common to see DevOps teams looking for an application dashboard they can plug into FluxCD.
The reason why this is such a common ask is:
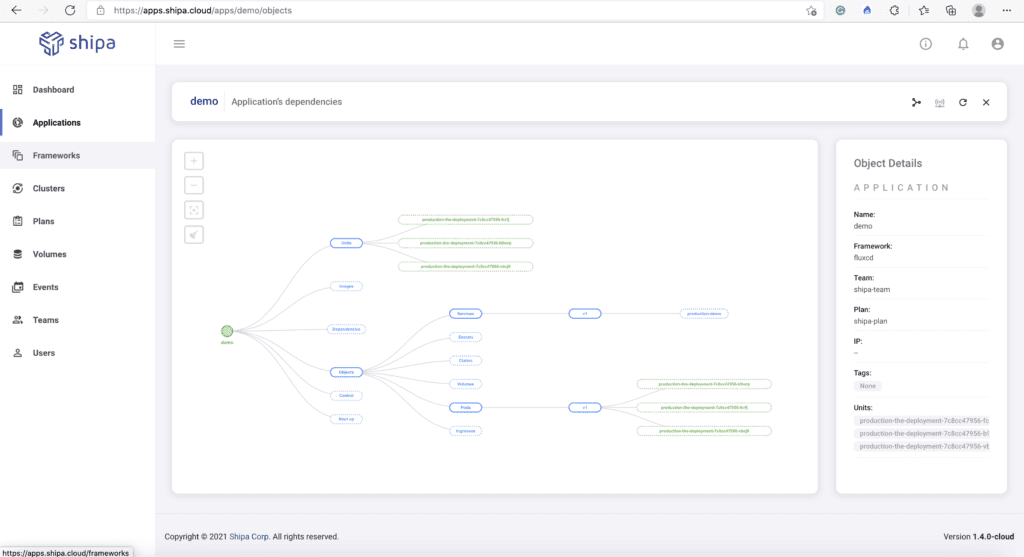
- DevOps teams want to shift more application support and observability to developers and to do so, developers need to understand their application dependencies and status quickly.
- As the number of developers and services deployed increases, it’s critical that DevOps can quickly identify service owners to support the application properly.
That is not a functionality available on FluxCD today. Since you already have it implemented and applications deployed, how can you quickly implement that application dashboard and land a quick and important win?
We will be using Shipa Cloud for that. Shipa can plug into your existing clusters and namespace where FluxCD is deploying applications and surface those applications, dependencies, and ownership in a great format. The best part? It’s FREE!
Getting Started
Creating an Account
To get started, you will need to create a Shipa Cloud account. You can sign up for a free account here.
The next step is to create a policy framework. In general, Shipa uses policies framework to:
- Connect to your cluster.
- Enforce policies and controls over applications deployed using that policy.
- Scan the namespace where the policy framework is bound for existing applications to surface them.
Creating a Policy Framework
Once you create your account and log into your Shipa Cloud account, head to Frameworks and click on Create Framework:
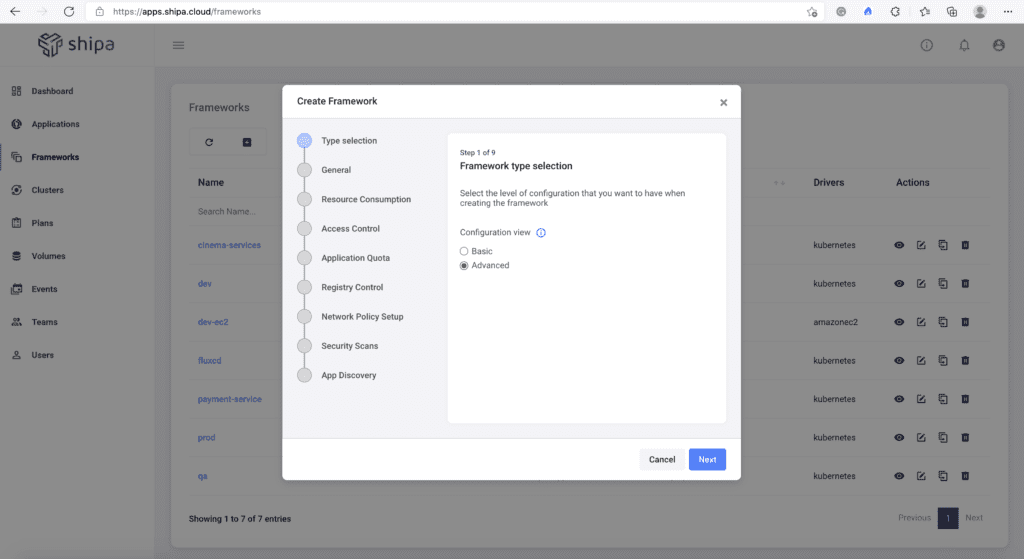
Select Advanced as the option and move to the next step:
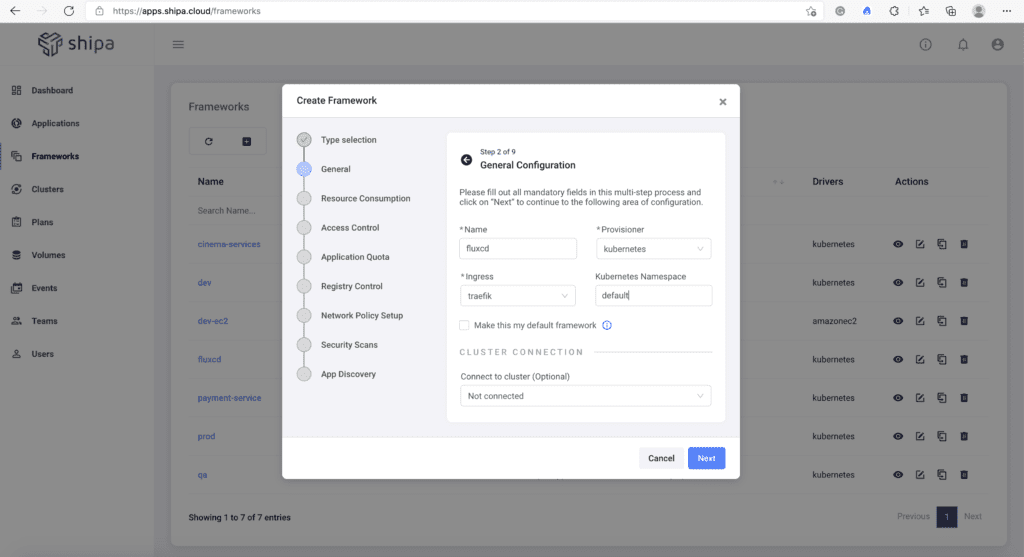
As part of this step, enter the policy framework name. Since we want Shipa to discover your existing apps, in the Kubernetes Namespace field, enter the name of the existing namespace you have in your cluster where FluxCD is deploying your applications.
Let’s now move on to the App Discovery step of our policy framework process.
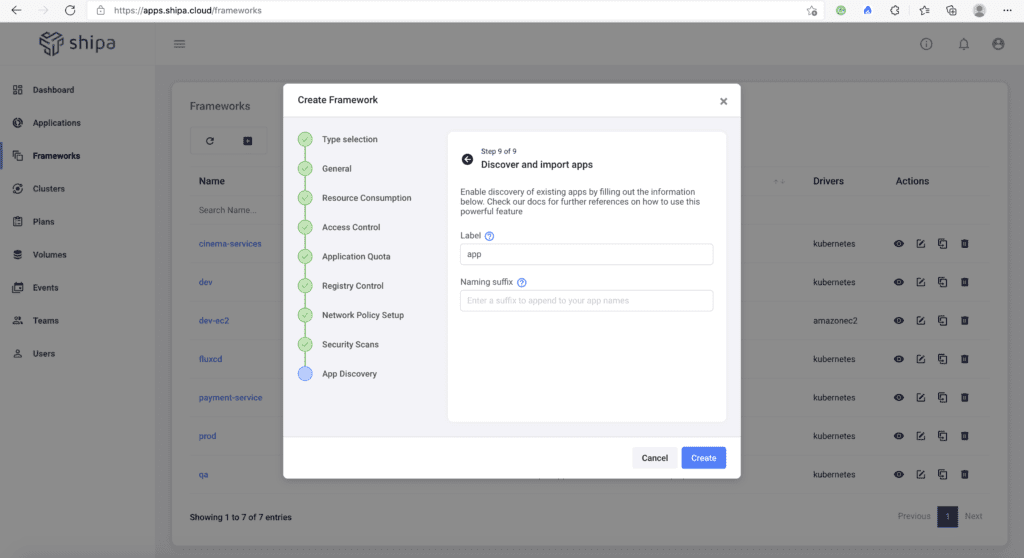
Here we have to enter the label used by the applications when deployed with FluxCD. Shipa will use this label to scan for applications and surface them in the dashboard.
Once entered, save the policy framework.
Connecting a Cluster
Next, we have to connect the created policy framework to your cluster.
To do so, click on Clusters and then Add Cluster.
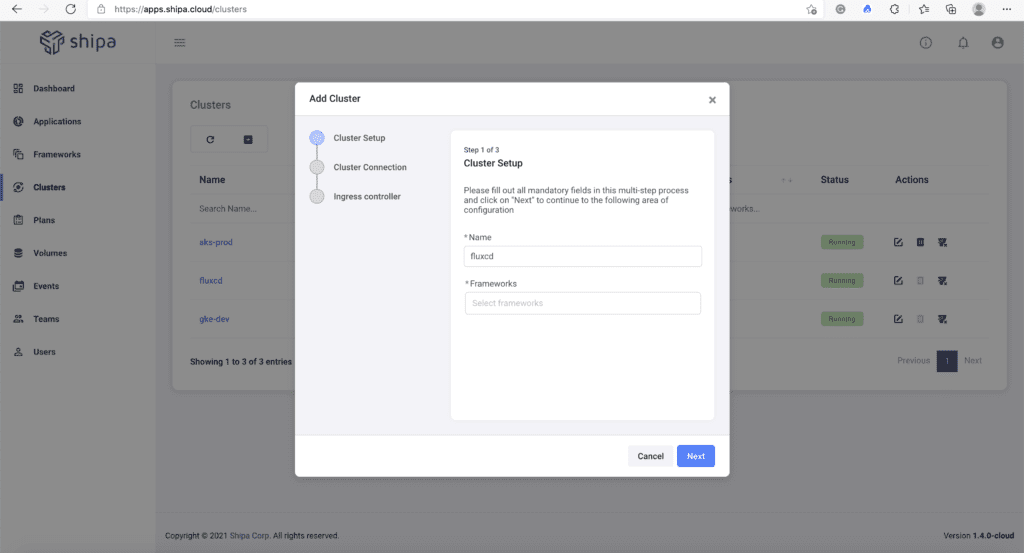
Here, enter the name of the cluster and select the framework you created in the previous step.
Moving to the next step, you will enter the cluster IP and service account information for Shipa to connect to your cluster.
The cluster connection will take approximately 60 seconds to complete. Once complete, you can head to Applications, and Shipa will start surfacing the applications in that cluster and namespace. As long as there are applications in that namespace with the label you entered, Shipa will automatically discover it.
Conclusion
That’s it! You have now implemented an application dashboard without changing your FluxCD process and can now land an important win with the Dev and Ops team!